Creating a static documentation site blazingly fast and stupidly simple with DeSilva/Laradocgen for Laravel
Hey! I'm Caen! I created this package to practice package development. It is still very much in beta, but please do send me any feedback you have! I'd love to get some PRs as well.
Quickstart#
Want to get started fast? Follow this Quickstart guide.
Need more detail? Follow the step-by-step guide below.
Installation#
1# Include the package as a dev dependency2composer require desilva/laradocgen --dev3 4# Publish the assets.5php artisan vendor:publish --tag="laradocgen"Publishing the assets is required as it creates the necessary directories and scaffolds the files. It also publishes the stylesheet.
Creating documentation pages#
Save your documentation as Markdown files resources/docs directory.
Example: <laravel-project>/resources/docs/<your-markdown-file>.md
Building the static site#
Building the site is a breeze. Simply start your development server and run the Artisan build command
1# Ensure your site is accessible at http://localhost:8000/ 2php artisan serve3 4# Run the static site builder5php artisan laradocgen:buildThe generated static site saved in <laravel-project>/public/docs. You can keep it there to automatically serve them from the /docs URI path. Or, you can also upload them to your static site host.
That's it! Have fun building your documentation!
What's next?#
I recommend that you read the rest of the article to learn more about how the package works.
Step by Step Installation Guide#
Speedrun#
If you know your way around Laravel you can skip to the summary
This guide assumes you are familiar with the basics of Laravel and will not go into detail on the installation. The guide uses Laravel 9.
Install Laravel#
Let's start by creating a new project. I will be using Composer. If you already have a site you can skip this step.
1composer create-project laravel/laravel laradocgen-demo2 3cd laradocgen-demo4 5php artisan serve6 7# Now you can visit http://localhost:8000/ in your browser to verify the install. Install the package#
Next, we need to install the Composer package. Since this is a static site generator we don't need it in production, thus we are adding the --dev flag.
1composer require desilva/laradocgen --devPublish the assets#
Next, you need to publish the assets using
1php artisan vendor:publish --tag="laradocgen"This publishes the stylesheet, config, and also creates some sample files for you to get started quickly with.
About the assets#
Here is a quick explanation about what they do
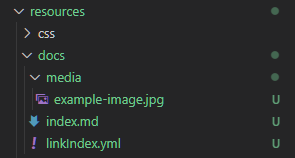
The main folder is in resources/docs. This is where we store all the markdown files. As you can see there is currently an index.md file. This will be converted into the index.html.
We also have a media directory that stores images and the default stylesheet.
If you want to add custom styles, create a file called
custom.cssinside the media directory. The compiler will automatically merge and include it.
Next, we have the linkIndex.yml which contains a simple list of the markdown filenames (without the extension). The order of these files determine the order they appear in the sidebar.
1# The sidebar will be arranged according to the order of the slugs in the list.2# Indentation matters. Each entry must start with 2 spaces,3# followed by a dash, and then another space, then the slug.4Links:5 - index # this gets index 06 - getting-started # this gets index 17 - digging-deeper # this gets index 2Note that the index file is normally hidden from the sidebar as it is accessed by the brand name. The 404 page is also hidden. Files that don't have an entry in the index gets the order 999.
Visiting the preview#
The package comes with a real-time viewer of the pages. You can see it at http://localhost:8000/realtime-docs/.
Creating new pages#
Creating new pages is dead simple. You simply create a markdown file in the resources/docs directory. There are some conventions you must follow though. All files should be in lowercase kebab-case and end in .md.
All documentation sites should include an index.md and a 404.md file. When you publish the package assets they are automatically created for you to modify as you wish.
Let's create a page for this document I am writing now.
Simply create a file named getting-started
1# I'm using Nano but you can use any text editor you'd like2nano resources/docs/getting-startedAfter you've written down some markdown, save the file Ctrl+O, enter, Ctrl+X (if using Nano) and hit refresh on the webpage. You should now see that a new entry has been created in the sidebar
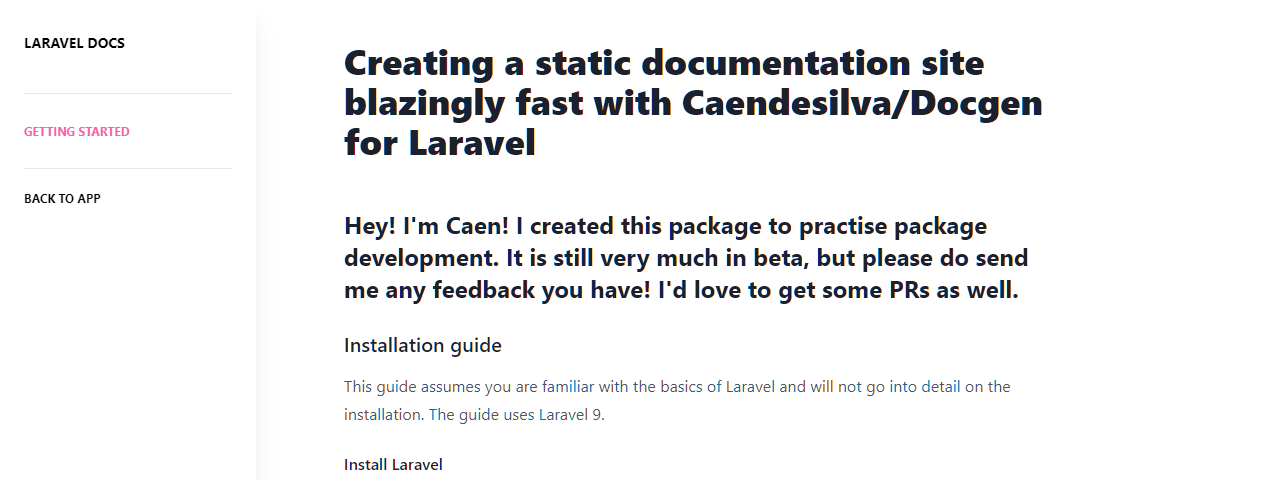
Click on the link, and you should now see your beautifully formatted Markdown!
Adding images#
Adding images is easy, just put them in the resources/docs/media directory, reference them using the following code
1When the static site is built the images will be copied automatically. When using the realtime viewer, the image markdown is intercepted by the preprocessor and changes the path to a resource route.
You can of course also use an external CDN to host the images by entering the full URI instead of the relative filepath. The screenshot above uses this method.
Generating the static site#
This package is intended to be used to generate static HTML so it can be hosted on services such as GitHub pages.
Compiling the site is a breeze.
Just run
1php artisan laradocgen:buildand the files will be saved in public/docs. You can keep it there to automatically serve them from the /docs route. You can also upload them to your static site host.
If you feel done with the documentation package you can safely remove it.
Summary#
Simply put, the steps to create your documentation is as follows
- Install the composer package as a dev dependency and publish the assets.
- Create your markdown files in
resources/docs. The files must be in kebab-case and end in .md. - You can create a simple YAML list named linkIndex.yml to change the order the files appear in the sidebar.
- Store images in
resources/docs/media. - You can preview the pages with the route
/realtime-docs. - Compile into static HTML using the artisan command
php artisan laradocgen:build. The files are stored inpublic/docs. - That's it!
Next steps#
Torchlight#
The package comes with out of the box support for Torchlight. To get started run
1php artisan torchlight:install # Run the installation command2 3php artisan vendor:publish --tag="config" # Publish the configsNext, create an account at Torchlight.dev, generate an API token, and enter the token in your project .env file
1TORCHLIGHT_TOKEN=torch_ # Replace with your tokenAnd enable the feature in the config/laradocgen.php
config/laradocgen.php
config/laradocgen.php
1<?php2return [3 /** Should Torchlight be used? Default: false */4 'useTorchlight' => true, # Set this to true // 5];Troubleshooting#
This section will attempt to shed light on some "gotchas" and common issues that may occur.
-
The built site has no styles and/or returns 404
- You are probably serving the site through the
php artisan serve. Visiting http://localhost:8000/docs can't load the assets (nor are the links working) as the built site uses relative URI paths. If you visit http://localhost:8000/docs/index.html it should all work though. You may want to set up a redirect. - If you are still missing styles when not using the Laravel dev-server, please let me know so I can look into it.
- You are probably serving the site through the
-
The sidebar links are in the wrong order
-
Have you configured the linkIndex.yml? Remember, indentation matters. You must start each line with two spaces, one dash, one space, and then your slug. Remember to omit the file extension.
1 - index.md # Valid yaml2^^ ^ # Each caret is a space
-
-
Page is not showing
-
Make sure your markdown files are named properly. They should use kebab-case and end in .md. If you want to generate a proper slug you can use the following snippet in Artisan Tinker or similar.
1use Illuminate\Support\Str;23$myPageTitle = "How to generate markdown files";45$generatedSlug = Str::slug($myPageTitle);6$generatedTitle = str_replace('-', ' ', Str::title($generatedSlug));78echo "You should name your file `{$generatedSlug}.md`. \n";9echo "The title will display as \"{$generatedTitle}\"";Which outputs
1You should name your file `how-to-generate-markdown-files.md`.2The title will display as "How To Generate Markdown Files"
-
-
Index.md is not visible in the sidebar
- This is default behavior as you can visit the Index page using the sidebar app name. I plan on adding making this customizable though.
-
How do you add the filename to code snippets?
-
It's really easy! I created a shortcode just for this.
1<empty line> # Hides the directive when used on other platforms2[!!filepath]::path/to/file.php # Everything after the :: will be used as the label. -
How does it work?
-
Before parsing the Markdown files the package runs it through a preprocessor. It scans the markdown for directives (the
[!!filepath]::part). It then extracts the filepath and inserts it to a<small>tag. Make sure there are no spaces in front of the directive. -
When you load the page a JavaScript snippet (I am still working on injecting this in the backend parser) moves the generated tag into the codeblock.
-
By the way, having an empty line before the directive hides it from most Markdown parsers so it does not show up if you host a copy of the Markdown on for example GitHub. Huge thanks to https://stackoverflow.com/a/57310297/5700388 for this.
-
-